Tuesday 29 April 2014

• MAC Girl About Town - you beaut // review •

The combination of googling endless swatches and 
me being a little daring with my lip colours recently 
has led me to MAC's Girl About Town.

A simple, natural make up looks needs a pop of colour, and this lipstick just does the trick. This pink, almost reddy shade is a perfect match for my pale complexion - it brightens it up my face but doesn't look too overdone when I'm wearing a sheer covering of foundation and a coat of mascara. I can get away with it for day time - just - when I pat it onto the lips creating a sheer wash of colour, but it's also perfect for evening as you can build the colour with two coats, and it won't look patchy. 
I think one of the reasons this lipstick is so popular is that it has blue undertones, making your teeth look whiter. I have to admit, I don't really concentrate on my teeth as they're pretty white anyway so I haven't noticed it myself, but I will make a conscious effort to look out for this next time! MAC Girl About Town is an amplified finish  and as you can see in the photo above (sorry for the veiny hands!) it's so pigmented. This is just one swatch of the lipstick and the colour payoff is incredible. It leaves a glossy finish, the colour sticks around for hours and is the perfect Spring pink. The best bit about this is that I tested it last week what I went out for sushi and I was eating lots (and lots, and lots...) and the lipstick didn't leave that dreaded lip-liner effect, where it had worn off in the centre of my lips. The colour just sort of faded all over my lips and didn't go patchy. It was amazing, and I was so surprised to find this out when I got home 5 hours later!
I really recommend this lipstick if you're going for something a little brighter, but want something to sheer out, too. 

Have you tried this lipstick? What's your favourite MAC lipstick?

Daniela
Follow on Bloglovin

Sunday 27 April 2014

• LUSH King of Skin // review & LUSH blogger event •

A solid, beautifully scented, in-shower moisturiser - I can't stop raving about this product.

Everybody needs this product in their lives. It smells incredible, is packed full of bananas and all that good stuff and works wonders for the skin. LUSH really pulled out all the stops when they made this product - King of Skin has fast become one of my favourite products and it's hard to imagine life before it. Moisturising AFTER my shower? Pfft. Spending ages drying, then piling on body butter? Forget it. This product really is a time-saver but works efficiently and effectively, too.

Let me start with how it's used. You shower like normal, a little body brushing here and a shave there, and you rinse your body as you would. You then run this product over your skin and let it sink in for a few seconds, then you rinse off. And that's it - simples. After, your skin will feel so moisturised, so beautifully buttery that you'll wonder why on Earth it's taken you so long to pick this product up. I store mine in an empty LUSH tin (one of the square ones) and I store it in my bedroom, away from any damp or hot areas in case the product melts. King of Skin lasts a pretty long time - I've used it before, years ago, and can remember enjoying it for ages before I got to the last scraps of it. And when you do get to the last scraps of it, it is a sad moment. Luckily, I moved onto the infamous Ro's Argan Body Conditioner - which is a whole other blogpost.

As always, the ingredients in the product are natural - cocoa butter, shea butter, oat milk, fresh avocado, extra virgin coconut oil, organic jojoba oil, almond oil, tangerine oil, lavender oil, sandalwood oil, rose absolute, fresh organic bananas...I'd be tempted to eat this. It smells like fresh bananas with a hint (a teeny weeny hint) of peppermint - but I'm not sure where this comes from as it's not in the ingredients list, so it may just be my nose playing tricks on me.

Basically, go get you some. It's £5.50, a time-saver, an amazing moisturiser and something you really need in your life. I can't rave about this product enough and I plan on buying a few just so I always have spares, that's how passionate I feel about it.

I bought King of Skin, amongst a few other bits, when I was at the LUSH bloggers event in Cambridge. I'd never been to one before and was met with the lovely Chloe, who was so sweet and made me feel really welcome. She talked me through the haircare and treatments, whilst I was wondering the whole time 'how on Earth does she remember everything?!' and then we moved onto skincare. Now, I thought I knew a lot about LUSH (as a self-confessed addict - not normal) but there is literally so much I don't know. It made me realise that when I go into a LUSH store, I need to actually ask the sales assistants about the products I'm interested in instead of just jumping in and buying any old thing - there are so many amazing products that I haven't even tried yet that could improve my hair/skin. 
After a hair consultation and a skincare chat, Chloe packed up some samples for me to try to see if I liked them. For hair, we went for Big Solid Conditioner, Shine so Bright Hair Treatment, Roots Scalp TreatmentHappy Happy Joy Joy Conditioner, Big Shampoo, Fairly Traded Honey Shampoo and Daddy-O Shampoo. For skin, I got samples of Imperialis moisturiser, Enzymion moisturiser and Cosmetic Lad moisturiser (which I found out isn't just for boys, as I'd previously assumed).

I can't wait to try these goodies out and I'm planning on doing a round-up of my favourites when I've given them all a good go. Thanks again to LUSH Cambridge for inviting me to the event - I had a great time with your lovely, knowledgeable staff. I'm looking forward to the next one already!

Have you been to LUSH recently? Let me know if you've tried King of Skin before!

Daniela
Follow on Bloglovin

Thursday 24 April 2014

• An accidental 3 for 2 Boots haul •

I went on an accidental shopping trip last week... 

I can explain - I went to the LUSH bloggers event (a post will be up on this soon!) and wasn't planning on going shopping, but as I was walking past Boots, I saw that damn 3 for 2 sign. Well, they saw me coming. I walked in there like a woman on a mission, grabbed a shopping basket like I meant business, and trotted off to the cosmetics aisle. As a blogger, and generally as a make-up loving girly girl, I have a never-ending 'to-buy' list on my phone which usually consists of make up and skincare. I've had this for months and I just keep adding to it. I decided to buy some of the things that were on that list to make my trip worthwhile...the things we do to convince ourselves hey.
The LUSH Mask of Magnaminty has been a firm favourite of mine for about 3 years now. I keep repurchasing it; it clears my skin like no other and it deserves a review by itself, so I shall save myself for that. LUSH King of Skin has been a part of my life for about 5 years and is something I only really purchase if I feel like I deserve a bit of a treat; it's an amazing in-shower solid body butter that you swipe onto damp skin and then rinse off. It smells like bananas and is so so moisturising.
I've literally wanted to try the Real Techniques Buffing Brush for so long - I was just reluctant to buy the Core Collection for the one brush! But since Boots had their 3 for 2 offer on, I took it as a sign to just get on with it and purchase it. The Real Techniques Core Collection includes the Contour Brush, the Pointed Foundation Brush, the Detailer Brush and the Buffing Brush. The Revlon Parfumerie Scented Nail Enamel is a product that intrigues me, so I picked up the colour Orange Blossom. Low and behold, it actually smells like oranges when painted onto the nails. This just blows my mind - I've not yet painted my nails with it yet, but when I do, I bet I won't be able to stop sniffing them! Another colour that intrigues me, but for different reasons, is Essie's Mint Candy Apple. The colour is so interesting and I don't own anything like it. I've had it on my nails for 5 days so far and I've only just started experiencing chipping - amazing.
Cheating a little by putting these in, I know, but I purchased some new cotton pads. These ones are from Primark and I can't get a link for them unfortunately, but they were £1 for 160 pads which is pretty great. They're not scratchy and not too thin, which I was pleasantly surprised about. The Boots Botanics Hydrating Eye Cream was a new purchase for me as I'd read some great reviews about the Botanics range. I'm yet to try it, as I'm just waiting for my Vaseline pot to run out, but I'm excited to try it out. The one product that has stood out to me so far is the Garnier Micellar Cleansing Water. Where on Earth has this product been all my life? One swipe with this on a cotton pad and my make up has disappeared...it makes removing make up less of a chore and more of something to look forward to! This is on my list of things to review - it definitely deserves it's own post!
The lighting may seem a little off for this photo, but it's just because I had to edit it a little to allow the true colours to show through (yes, I am that pale!) I picked up the Revlon Colourstay Foundation in Buff, the L'oreal True Match Foundation in N1 Ivory and the Bourjois Healthy Mix Serum Foundation in 52 Vanilla (full review here). I'm not going to write too much about these because so far I've only tried the Bourjois foundation, so I wan't to try the others out to compare them and write a full comparison review post.

I bought some clothes from Zara, H&M and Primark too, but I think I'll save those for another post (if I get round to it before caving in and wearing everything!) I wanted to keep this one beauty-focused so it's all a little easier to follow.

Have you bought anything from the Boots 3 for 2 sale? That offer gets me, every time. I just can't help myself.

Daniela
Follow on Bloglovin

Sunday 20 April 2014

• MAC Warm Neutrals palette // review & swatches •

I'm slowly building my MAC eyeshadow collection; 
they've really impressed me.

The only thing that puts me off buying more of them is that there are way too many to choose from, to the point where I feel overwhelmed and walk out empty handed - I know this is an odd thing to say, as a large colour range is fantastic, but I just feel like there are so many that I couldn't possibly pick one to purchase! So this amazing idea of buying a ready-made palette is right up my street - especially when the colours, finishes and quality are so incredible. 

I'm a total neutrals girl and tend to shy away from bright and bold colours, and although I have about 20 shades of brown and 30 shades of champagne, neutral shades still excite me. I love the natural look, especially for this time of year, and I think that golds and coppers with a hint of soft brown in the crease look really lovely for Spring. This kind of look, and many more, can be achieved with the MAC Warm Neutrals Palette; there are 15 beautiful shades and they range from beige to pink, with golds and a few browns thrown in for good measure. Four of them are matte, six of them have very soft shimmers and five of them are metallic/satin-finish. They're warm colours so tend to have a goldy, coppery, reddish undertone which I was worried wouldn't suit my pale skin, but actually they really warm up my face - perhaps this is due to my olive undertones, but I do think this palette would suit so many different skin tones. I'm definitely glad I got the warm palette as I've swatched the cool palette in store and I don't think the colours would suit me half as well; the creams and beiges look too pale for me and I think they'd wash me out.

As you'd imagine, the quality of the eyeshadows are beautiful and I'm very impressed with the texture, pigmentation and blendability of most of them; I say most, as two of the eyeshadows are slightly chalky and aren't as pigmented as the rest; these are Warm Breeze (matte peachy-pink) and Dance in the Dark (matte black). With a little effort, though, I can make these work, so I'm not too disappointed. For £65, you really can't go wrong and it's such as bargain if you think of it as each MAC eyeshadow costing £10 a piece - in that sense, the palette is worth £150. (If that's not justification enough, I don't know what is!)
Top row; L-R; Hey, Warm Breeze, Gingersnap, Dark Brew, Dance in the Dark.

Middle row; L-R; Brule, Vanilla Extract, Honey Lust, Amber Lights, Saddle.

Bottom row; L-R; Lemon Tart, Butterfudge, Creative Copper, Unwind, Divine Decadence.

My favourites; Hey, Lemon Tart, Divine Decadence.

Have you checked these palettes out? I know they're currently out of stock on the MAC website, but they may have them in store.

Daniela
Follow on Bloglovin

Friday 18 April 2014

• Yankee candles // are they all they're cracked up to be? •

As soon as I get home, the first thing I do is light a candle to help me unwind. They just symbolise relaxation for me; I associate them with spas and all things Zen.

I love trying out new candles and wax melts for my burner, so when I received these votive Yankee candles I was so excited to try them out. The hype around them is massive and in my opinion, they're the UK Bath and Body Works equivalent (why can't BABW come to the UK already?!) The only thing stopping me from purchasing them, to be honest, is the price. So I guess the real question here is - are they worth it?

I have to mention first off that the scents I received are just lovely. Lavender, usually, is too over-powering for me, but you can definitely smell the lemon which makes it a little sweeter and lighter - Lemon Lavender is a real winner, already. Fresh Cut Roses is a floral scent, and I'd describe it as sweet roses, in a girly, non-old lady kind of way. Lake Sunset is definitely my favourite; it's sweet, musky and I'm sure I can smell some coconut in there somewhere. Yankee are known for their extensive range and variety in scents, so I'm sure there's something in there for everybody.

After I popped these into my candles and wax melt drawer, I went away for a few days. When I came back, my room smelled like candles had been burning for the weekend. I couldn't put my foot on why my room smelled of lavender and coconuts until I remembered where I'd stored the candles. The scent was so strong and powerful, which I always look for in a candle, and I thought to myself, if they smell like this when they're unopened and in a drawer, how must they smell when they've been lit? It didn't take me long to find out; if you're looking for something that'll fill your whole home with a scent, these really are for you.

Something that's really important to me is burn time. The amount of times I've purchased wax melts or candles from eBay and been disappointed with the burn time is just countless. With these Yankee candles, the burn time is incredible - I've had mine lit every day for about 5 days now, for at least 5 hours a day and you wouldn't even be able to tell just by looking at it. It has burnt so slowly and the scent is still strong each time I light it.

So yes, they're a little pricy, and yes, I haven't allowed myself to splurge on a Yankee candle yet (much preferring to head over to Boots or Zara...) but these minis are only £1.80 each and are a great way to try out some of the scents. I'm going to place an order in the next few weeks and pick up some more of these little votives; when I've found the perfect scent, I'm going to bite the bullet and buy the big daddy £19.99 jar candle. I definitely think these votives are worth the price and the quality of the candles are great; so I have to say that I do think they're all they're cracked up to be!

Have you tried any Yankee candles before? What's your favourite scent?

Daniela
Follow on Bloglovin

Wednesday 16 April 2014

• Gracing my face today // Spring MOTD •

Mineral make up, baby pink blush, barely there eye shadow...
I love Spring.

I started off by applying the Seventeen PHWOARR paint in 'fair' under my eyes to brighten them up a bit, then followed up with the Sheer Cover UK Mineral Foundation (review on this here), swirled all over my face in circular motions. I then moved onto brows, using the Rimmel Professional Eyebrow Pencil in Black/Brown (which isn't raved about enough, in my opinion), and use both the pencil and the brush to tame them and thicken them up. Using benefit creaseless cream shadow in birthday suit from the benefit world famous neutrals most glamorous nudes ever (review on this here), I primed my eyes for the colour. I swiped benefit long wear powder shadow in call my buff all over the lid as a base colour and applied kiss me i'm tipsy lightly into my crease to create a shadow. I then applied the Soap and Glory Super Volume Thick and Fast Mascara in Superjet Black to the top and bottom eyelashes to open my eyes some more and give them a doll-like effect. Moving back to my face, I used the Stila Breast Cancer Awareness Palette in 'Positively Pink' as a blush and highlight as it has pearly pink flecks in the bows. Lastly, I applied the Urban Decay Revolution Lipstick in Native (review on this here) to my lips for a girly, pink pop of colour.

Quite a neutral look with a subtle hint of colour here and there; I tend to prefer a natural, fresh-faced look around this time of year. Lots of pinks and soft browns!

I hope you liked this post, it's a little different from my usuals but it was really fun to write!

Daniela
Follow on Bloglovin

Monday 14 April 2014

• Five Spring inspired nail ideas & tutorials •

Spring is the time to get creative with nail art, and what better way to start the season than with pretty floral finger tips? The more colourful the better in my eyes, so I decided to try out some of the ideas I've seen tutorials for, whilst adding in a few of my own ideas here and there. I'm by no means an expert so I've cheekily chosen five ideas that don't take much effort or skill, but still look effective in the end - genuinely, I'm not just being modest, they really are ridiculously easy if you follow the steps (and some of the tutorials only have 3!) Let me know if you give these a go; if you do, take a photo and tag me on instagram so I can check them out (ddiraimo92).

I often find photo tutorials a lot easier to follow, but for those of you who enjoy reading, I've also written instructions for each tutorial. For most of the tutorials you will need a tooth pick, and for every tutorial you will need to paint your nails with a base coat before the nail art, and a top coat when you're done (I just didn't include these in the steps as they're the same for each tutorial!)

Sweet Florals
1 | Paint your nails with 2 coats of a beige/off white nail polish. Leave it a few minutes to dry.
2 | Paint on some circular blobs using a lilac colour.
3 | Using a white striper, swirl some white nail polish into the lilac blobs.
4 | Repeat the process using pink blobs.
5 | Using green polish and a tooth pick, carefully paint some leaves onto your flowers.
Girly Lace
1 | Paint your nails with 2 coats of a baby pink nail polish. Leave it a few minutes to dry.
2 | Using a white striper, paint a very thin line about half way down the nail.
3 | Paint the top half of your nail with white nail polish.
4 | Add your lace trim by very carefully painting semi-circles onto your thin white line.
5 | Paint pink blobs onto the white half of the nail.
6 | Using green polish and a tooth pick, carefully paint some leaves onto your flowers.
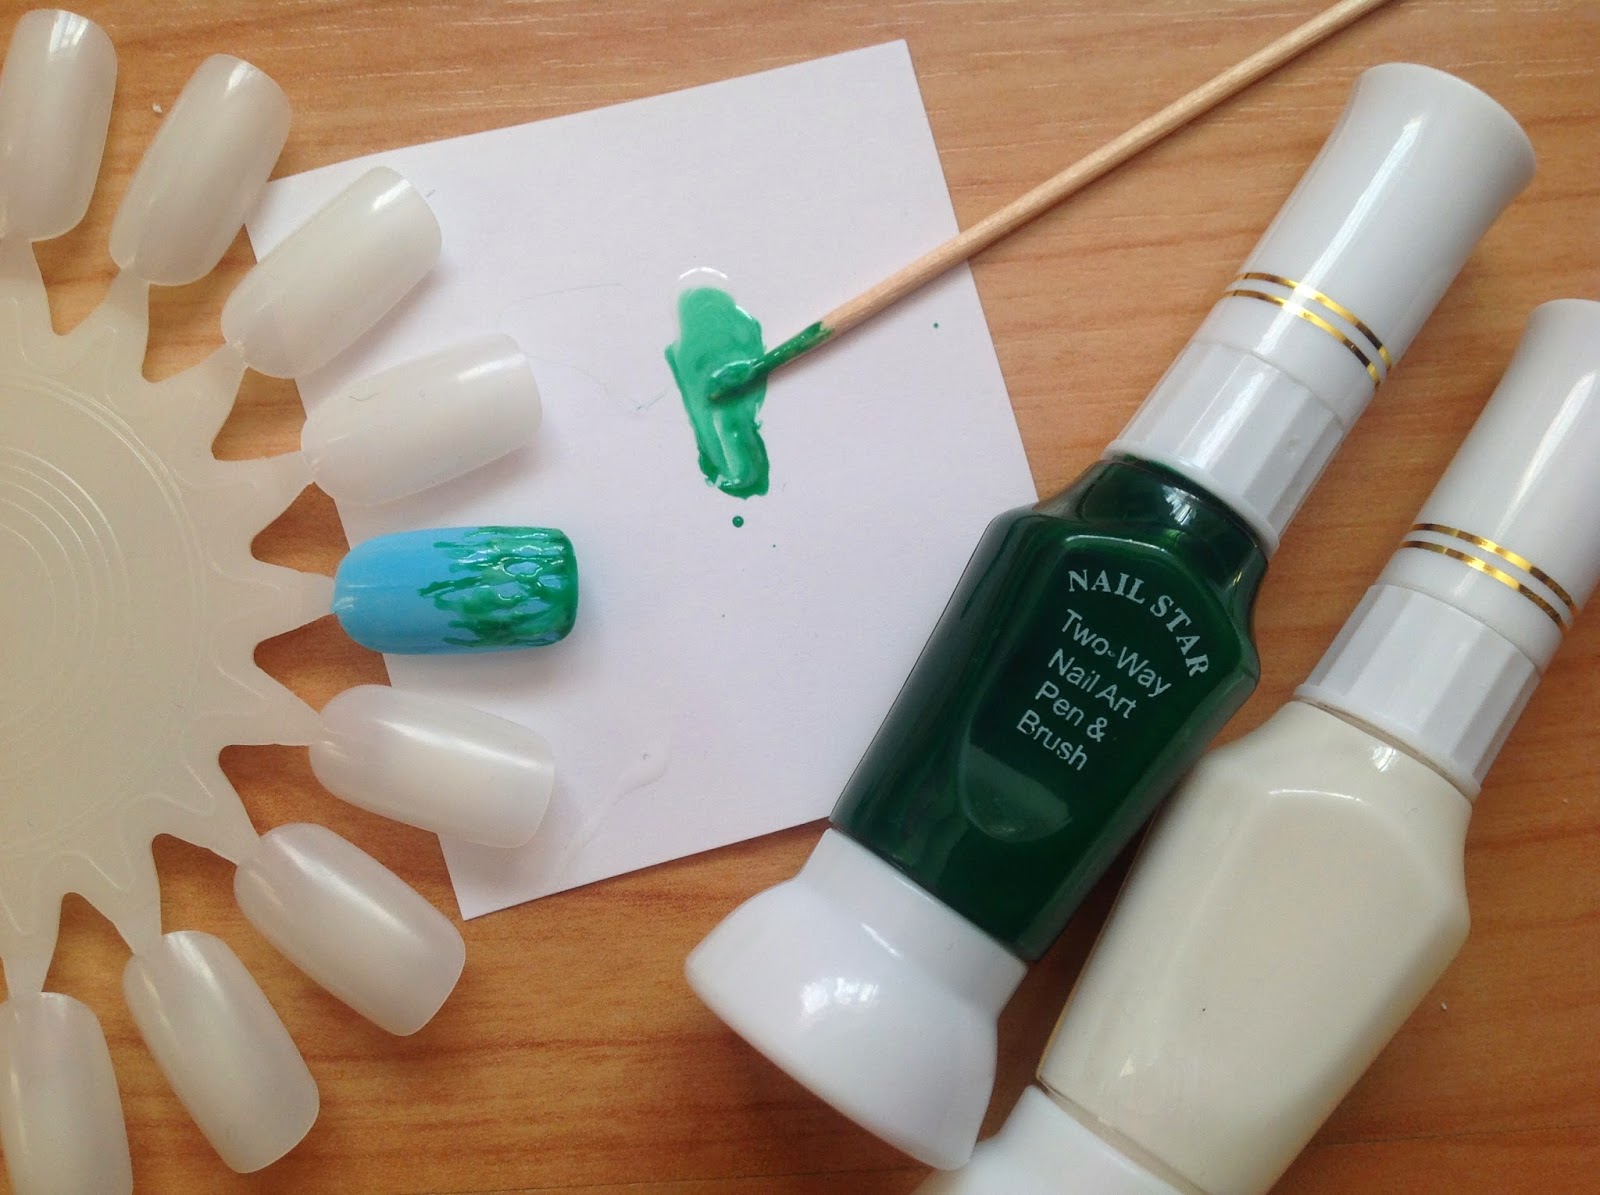
A Field of Daisies
1 | Paint your nails with two coats of blue nail polish. Leave it a few minutes to dry.
2 | Using green nail polish and a tooth pick, draw a very thin line at the tip of the nail. Then begin to draw thin lines onto your nail starting from the tip. The thinner the better.
3 | Mix a little white nail polish into that green nail polish to create a lighter shade of green and repeat the previous step.
4 | Paint 5 white dots onto your nail where the grass ends in a circular shape to create the petals.
5 | Using a tooth pick, drag these blobs towards the centre of the flower.
6 | Blob a little yellow dot in the centre of the petals.
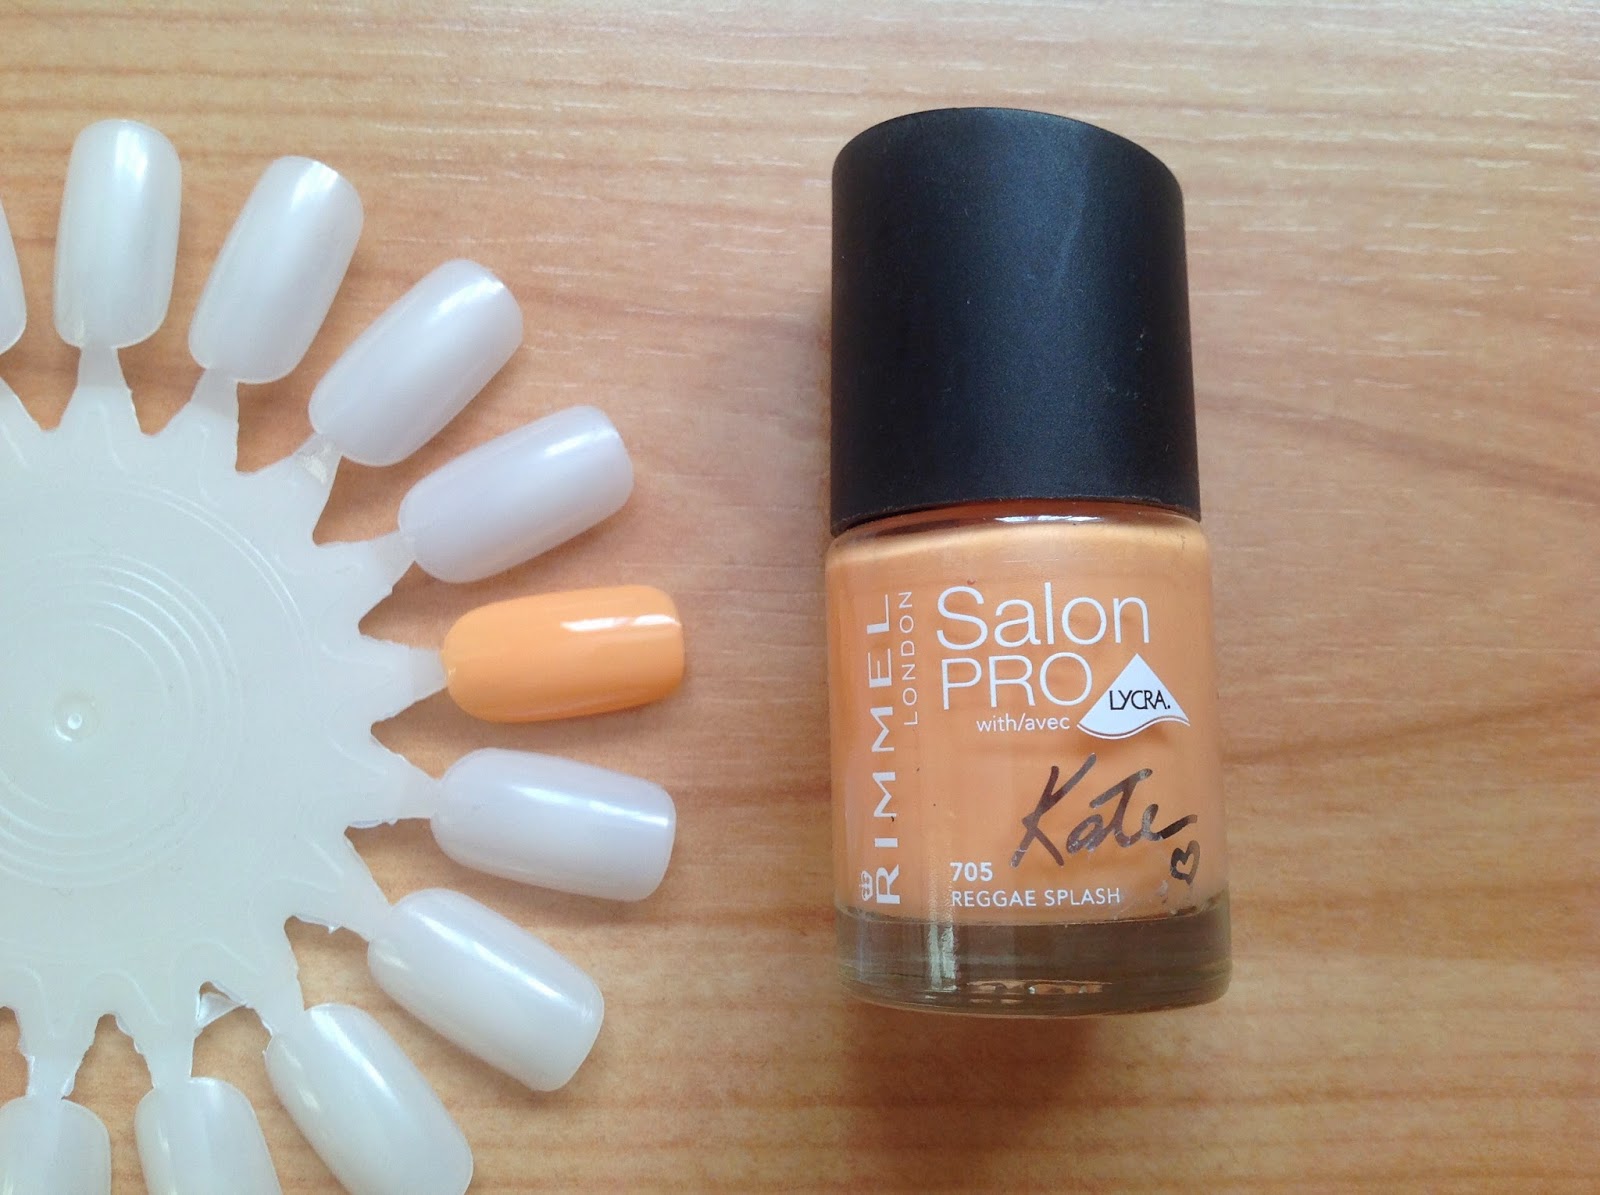
Peach Daisies
1 | Paint your nails with 2 coats of a peachy/orangey polish. Leave it a few minutes to dry.
2 | Using a white striper (teeny tiny nail brush) add some stripes for the petals.
3 | Using a gold glitter striper add a dot in the centre of the petals.
Spring tips
1 | Paint your nails with one coat of blue nail polish. Leave it a few minutes to dry.
2 | Using a white striper, paint a very thin line about half way down the nail.
3 | Paint the top half of your nail with white nail polish.
4 | Paint red blobs onto the white half of the nail.
5 | Using a tooth pick, swirl some white polish into the red blobs.
6 | Mixing a little white and green nail polish, use a tooth pick to draw in some petals for the flowers.
7 | Add a thin line of glittery red polish to separate the white half from the blue half.
I hope you liked these nails and found the tutorials helpful. I've spent my Sunday afternoon watching nail tutorials and having a play with some new stripers I recently purchased! If you didn't want to wear the nail art on all five nails, I think they'd all look lovely as an accent nail. Also, if you aren't a fan of the colours I've used, just switch them up to your preferred colours and see what you come up with. Have fun with it! And tag me in any photos on instagram if you end up giving them a whirl - ddiraimo92.

Happy painting!

Daniela
Follow on Bloglovin
UA-48181795-1